 |
|
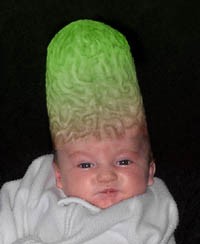
This Halloween, dress your infant up in a brain hat. Not only will he be stylish, but you’ll know his head is warm! |
|
|
|
 |
|
Supplies:
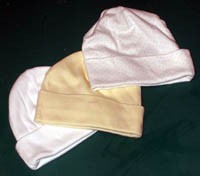
- Two stretch knit caps in light colors. Often these come in multipacks.
- Green paint, either acrylic or fabric paint.
- Paint to match your child’s skin tone. (Try mixing from hues like burnt umber, burnt sienna and raw umber)
- Paintbrush
- Sewing machine or needle & thread
- Small amount quilt batting (A piece about 12″ x 18″ should do it, but measure the unfolded hat below to be sure.)
- Small amount stuffing
- Seam ripper
|
|
|
|
 |
|
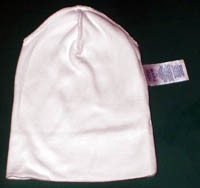
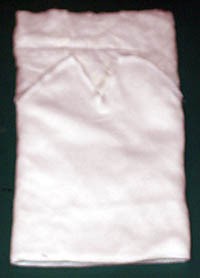
Here’s a standard baby cap. They often have cuffs.
|
|
|
|
 |
|
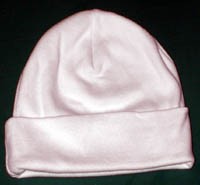
If the hat does have a cuff, undo it. There may be a few stitches holding it in place.
|
|
|
|
 |
|
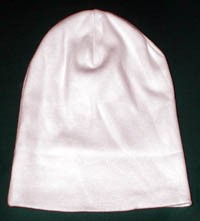
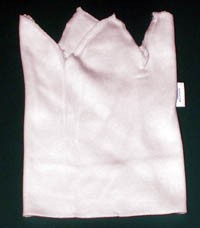
Turn the cap inside out. There will probably be seams at the top which create the hat’s tapered look. |
|
|
|
 |
|
Using a seam ripper, undo the seams at the top. Leave the hat’s side seam intact. |
|
|
|
 |
|
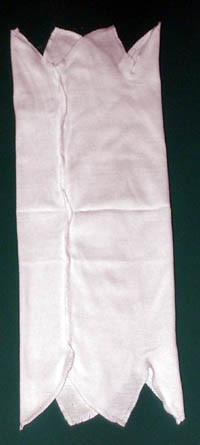
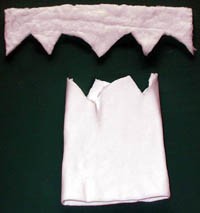
Stretchy baby caps are usually made of one piece of fabric which has been folded in half, forming a double layer.
Unfold the cap until it’s only one layer of fabric thick. |
|
|
|
 |
|
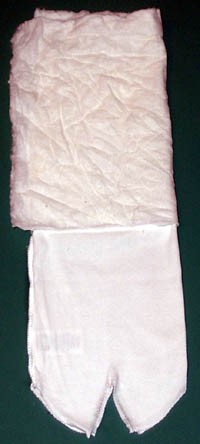
Wrap batting around one end of the hat, placing one edge of the batting at the crease that was left when the hat was unfolded. |
|
|
|
 |
|
Here we’ve finished wrapping the batting all around the hat. |
|
|
|
 |
|
Fold the lower half of the hat up so that it covers the batting. You should now have a fabric tube that is filled with batting.
Moving around the tube, pin the batting and fabric together so that they won’t shift. |
|
|
|
 |
|
Trim the exposed batting to match the raw edges at the top of the hat. |
|
|
|
 |
|
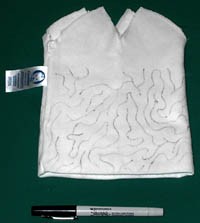
Using a pencil or fine-tipped permanent marker, drill meandering quilting lines on the inside of the hat. Looking at a picture of a brain may be helpful.
|
|
|
|
 |
|
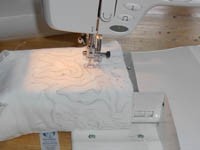
Sew along the quilting lines using a sewing machine or by hand. This is easily done by lowering or covering the feed dogs on your machine and using a darning foot, but it does take some practice. |
|
|
|
 |
|
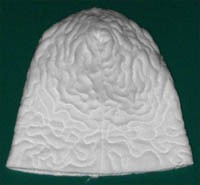
After quilting, the hat already looks amazingly brain-like. Sew the seams at the top closed. Turn the hat right side out. |
|
|
|
 |
|
The finished hat before painting. |
|
|
|
 |
|
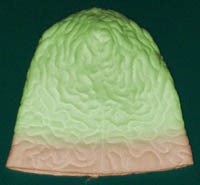
Using very diluted colors, paint the hat.
The bottom should roughly match your child’s skintone, while the top should be greenish.
Try the hat on your child. If it seems a little limp above his head, insert some stuffing. Line the monster hat with a second cap, leaving the second cap’s cuff intact. Whipstitch the bottom edges of the two hats together. |
|
|
|
|
|
Here’s a baby wearing the finished hat. Pair it with a sleep sack for a cutely revolting monster larva effect.
If you’re not satisfied with the visible edge between the hat and your child’s forehead, disguise it with a trim or stretchy headband. Metal studs are always very stylish with monster heads.
You can also make the edge disappear in photos, at least, using Photoshop or another image-eding program. |
")


